Send an Ether and confirm the Block Explorer
Overview
Once the Ethereum Wallet is connected to the Blockchain network, let's send Ether to another account. Send and receive Ether between the wallets of two accounts connected to the same Blockchain network. After sending, check the Block Explorer to see if it was sent correctly.
Send 30,000 ETH from the Wallet of MyAccount connected to the network TestNetwork to the Wallet of TestAccount.
-9a0fa8aae15ac5eb5a7802cd8e50f0b9.png)
You will need a recipient account (TestAccount Wallet address), so if you do not have one, you will need to add a second account to your Lunascape Wallet. If you already have multiple accounts, please skip the "Add a second account" step.
Steps
- Add a second account
- Send the Ether Card
- Check if the ETH has arrived at the receiver correctly
- Check the Block Explorer
Add a second account
Add the TestAccount which you want to add to your Wallet
There are two ways to add an account to Lunascape Wallet, but here we will explain how to add an account from within Lunascape Wallet itself.
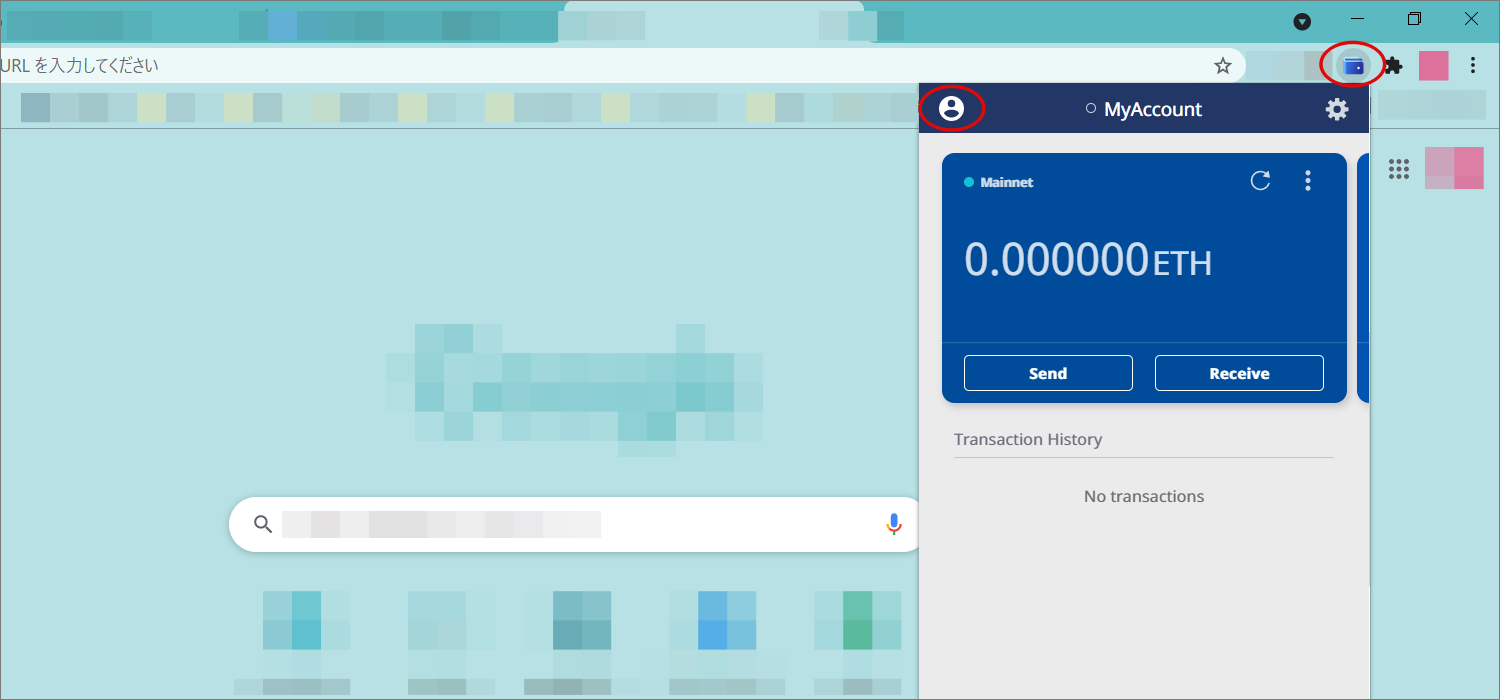
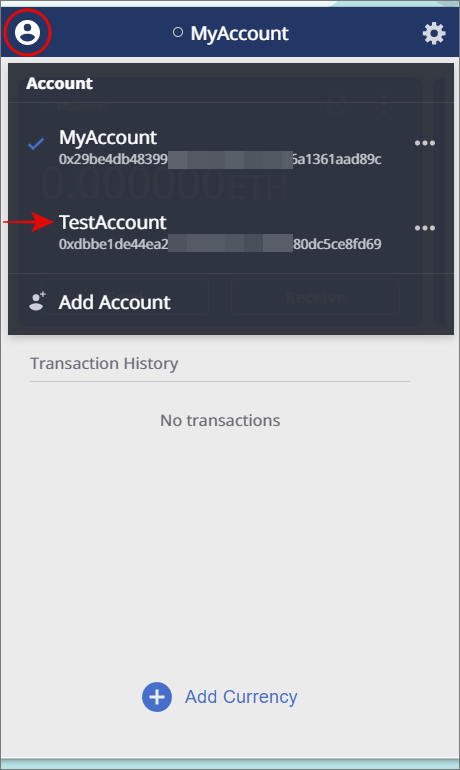
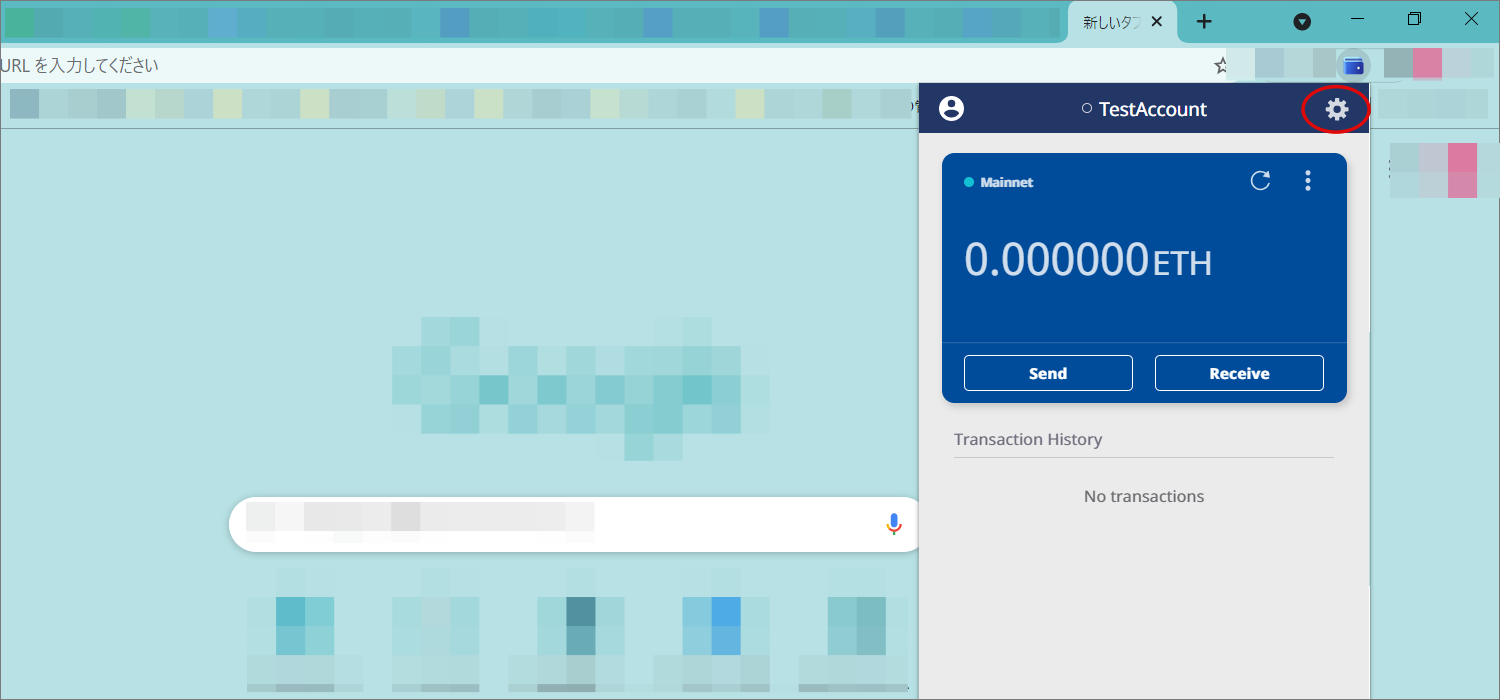
Click on the Extension icon in Chrome to open the Wallet, then click on the "Account icon" in the upper left corner of the Wallet.
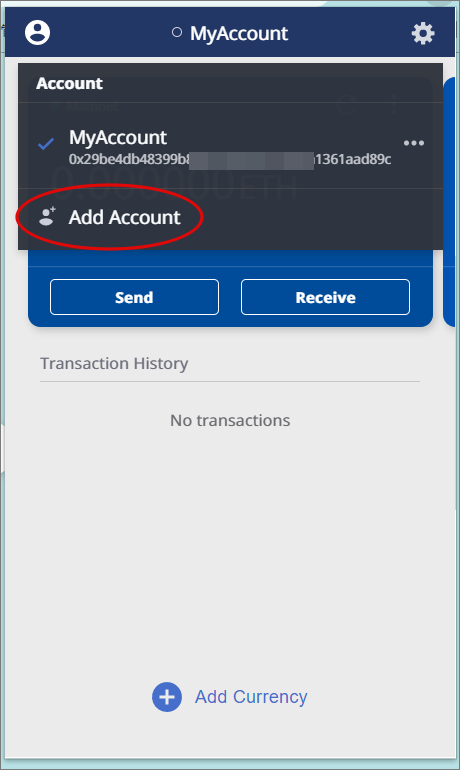
Click "Add Account" at the bottom of the account list screen.
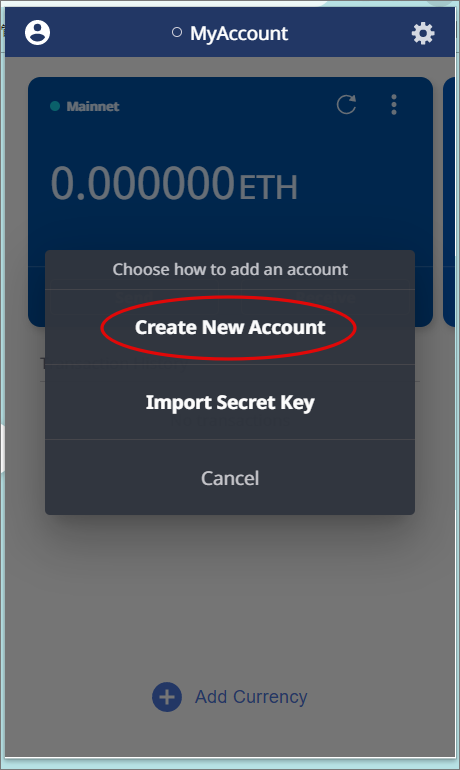
Click "Create New Account" in the following dialog.
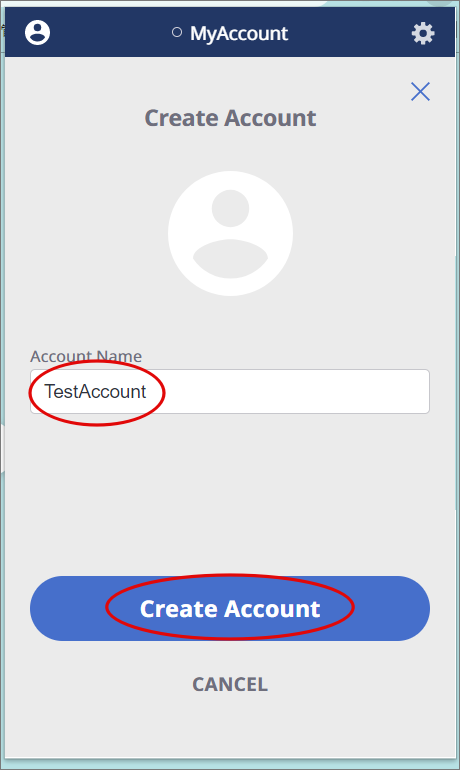
Enter your Account Name and click "Create Account".
Now that you have created your second TestAccount, click on the "Account Icon" in the upper left corner of Wallet and confirm that the account you created has been added.
Add MyAccount Network to the wallet of TestAccount
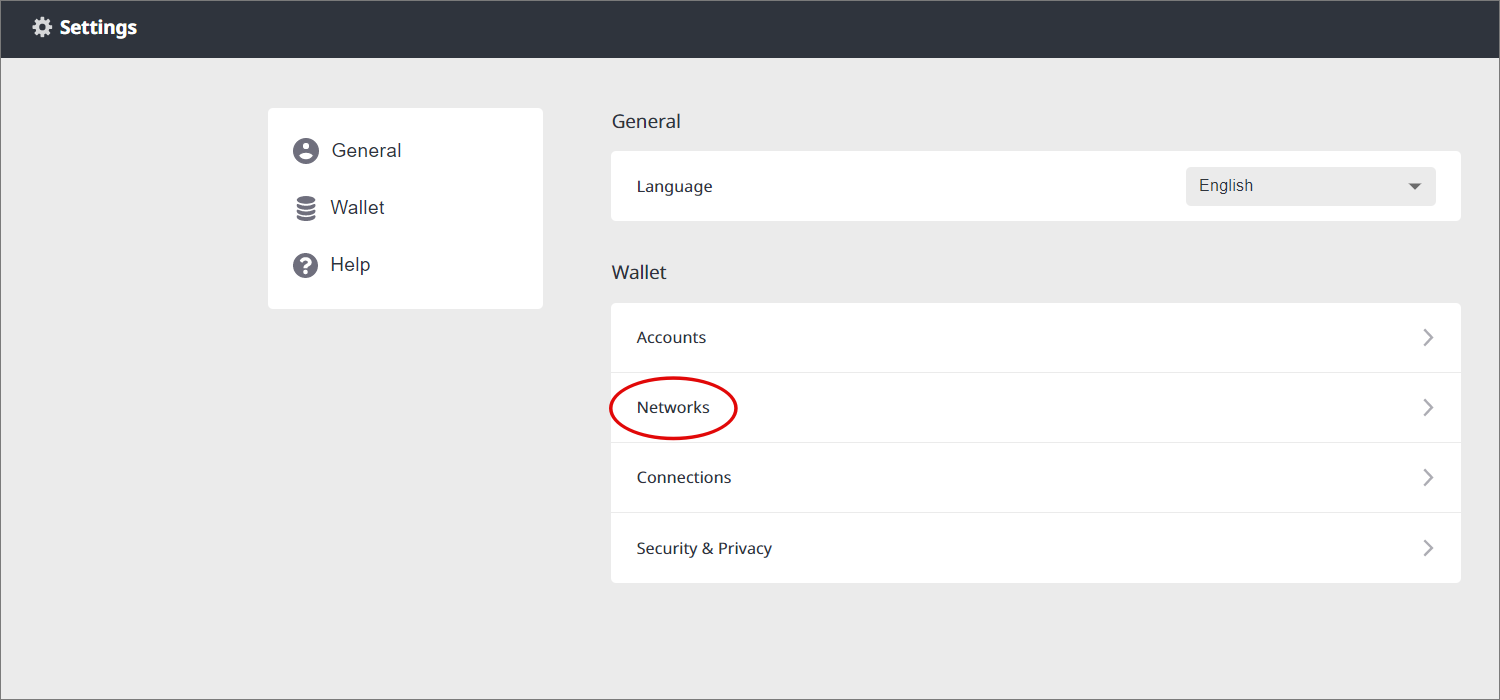
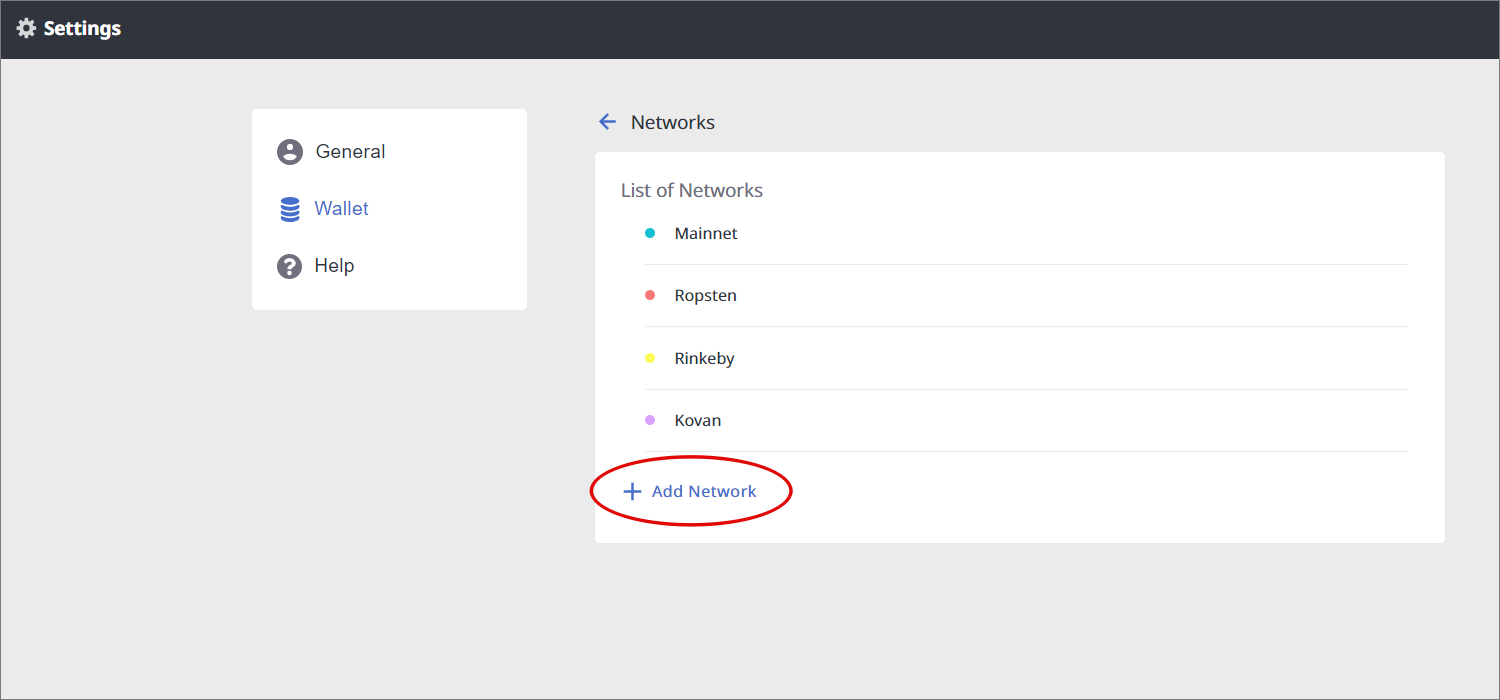
Let's connect the receiving account TestAccount to the same network as the sender MyAccount. Follow the steps in "Connect to the Blockchain" and specify the address of the Blockchain network you created in the previous step for TestAccount.

Add an Ether Card to the wallet of TestAccount
Follow the instructions in "Adding an Ether Card to Lunascape Wallet" to add an Ether Card to your TestAccount. For the network, select the network you just added.
Obtain the Ether Card address of the TestAccount that will be the recipient
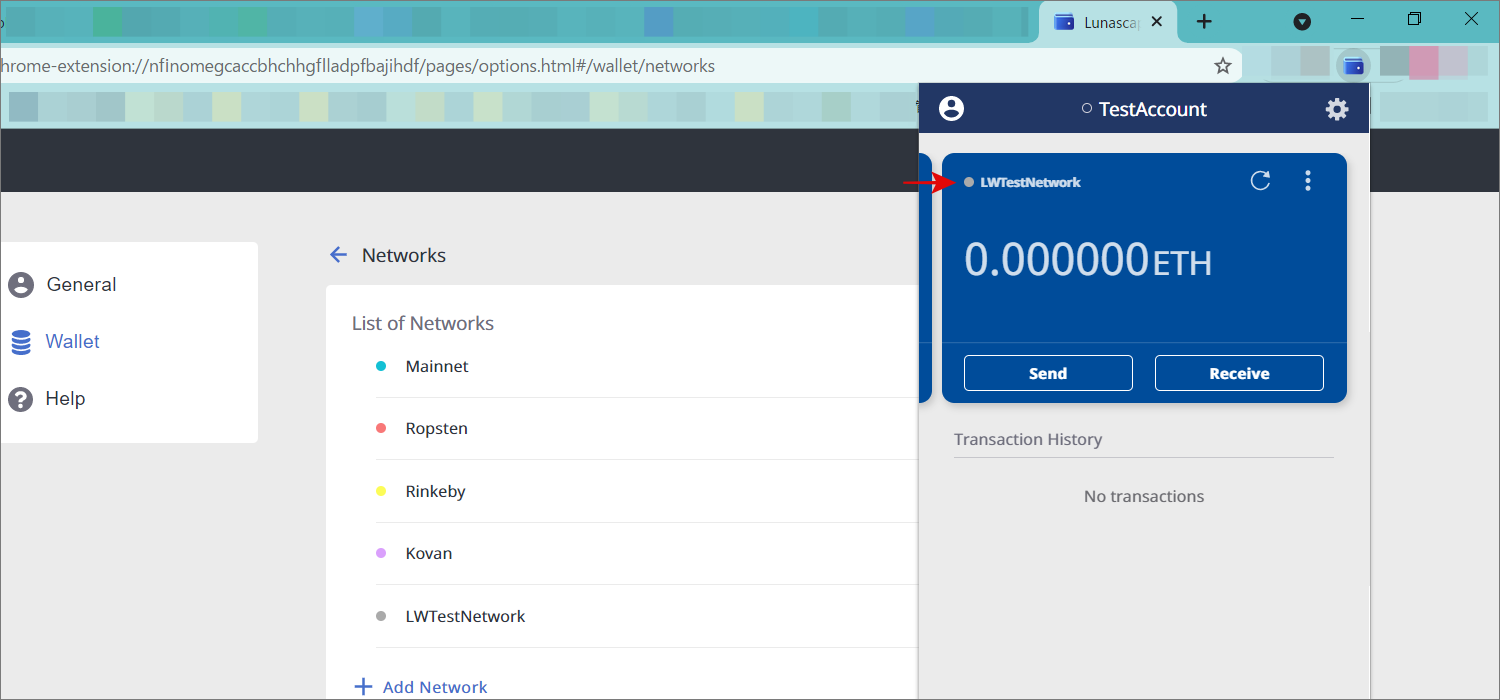
After you add an Ether Card to your TestAccount, you will get the address of the Ether Card of the TestAccount that will be the recipient (destination) of the Ether.
Open the Wallet of TestAccount and select the Ether card. Click "Receive" for the card, then click "Copy address" to copy the address to the clipboard. This address is used when the sender MyAccount designates the receiver as the destination.
-9080cc54b06357f5fb52fa8d37d85274.png)
-cc6fb5442e42d3e8d7b27315db6fa417.png)
Send the Ether Card
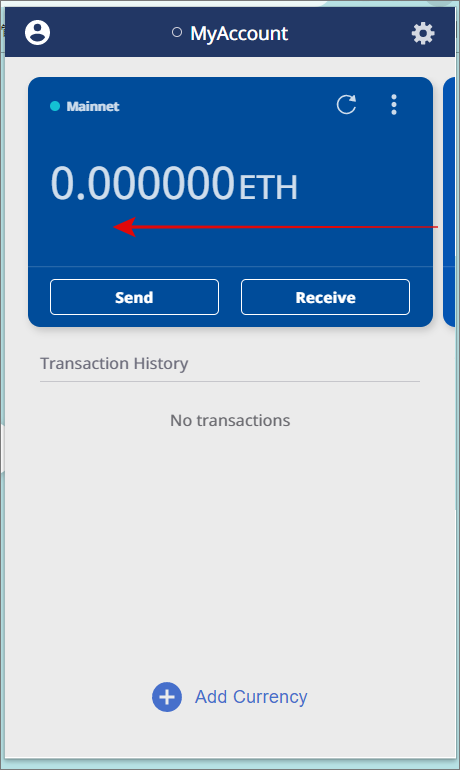
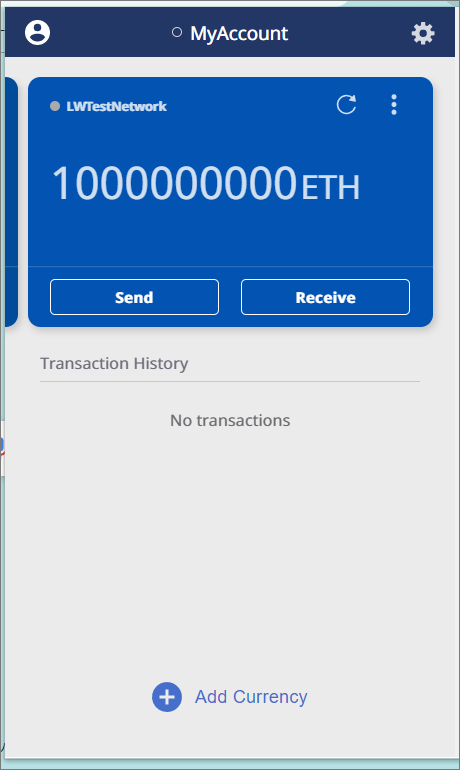
Select the Ether Card of the sender MyAccount
Select a card. Drag to the left to scroll and select the appropriate card.
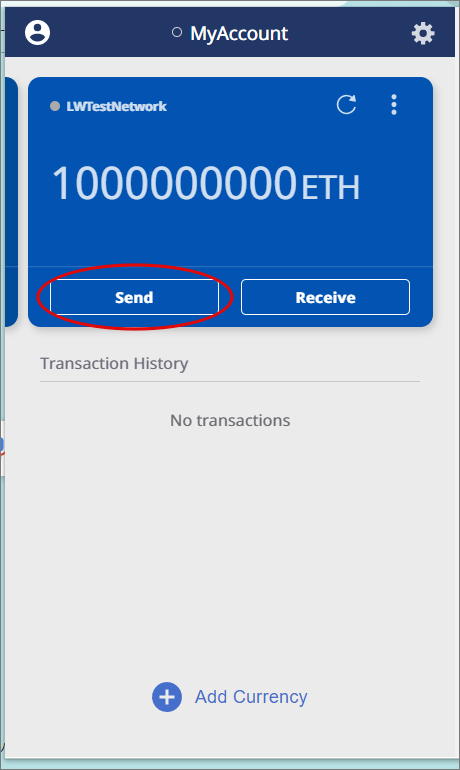
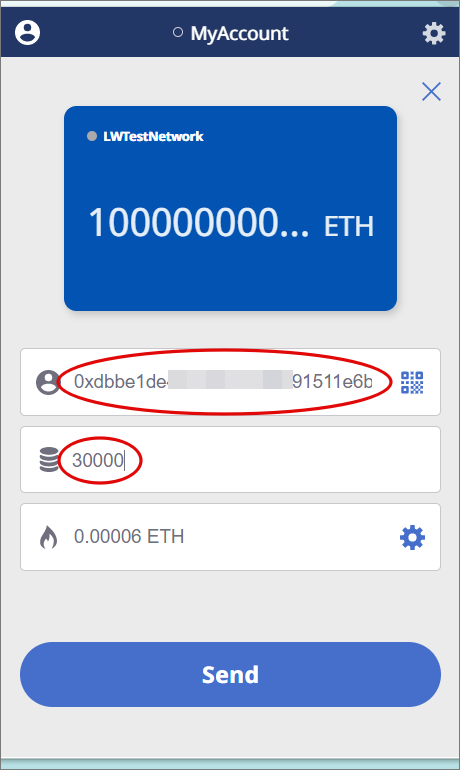
Click "Send" and enter the recipient's address and remittance amount
First, click "Send" on the MyAccount screen. Even if you click "Send" here, the message will not be sent immediately. The actual transmission will be done after you specify the recipient.
When you click "Send", a dialog box will appear to specify the recipient and the amount of ETH to be transferred.
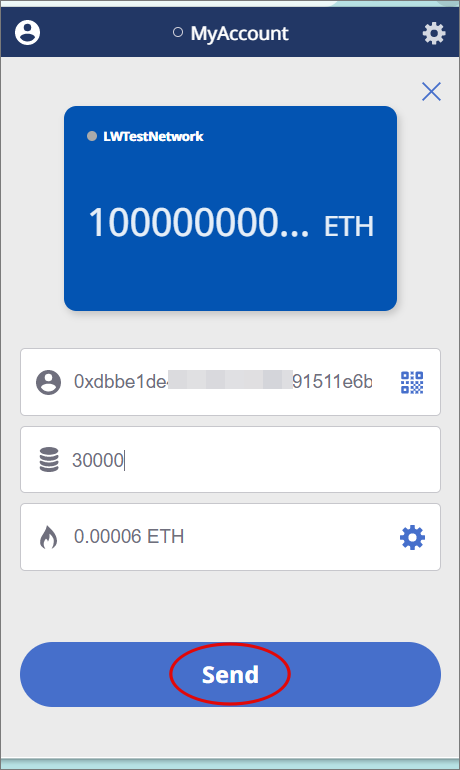
Send the ETH
After completing the settings, click the "Send" at the bottom of the dialog.
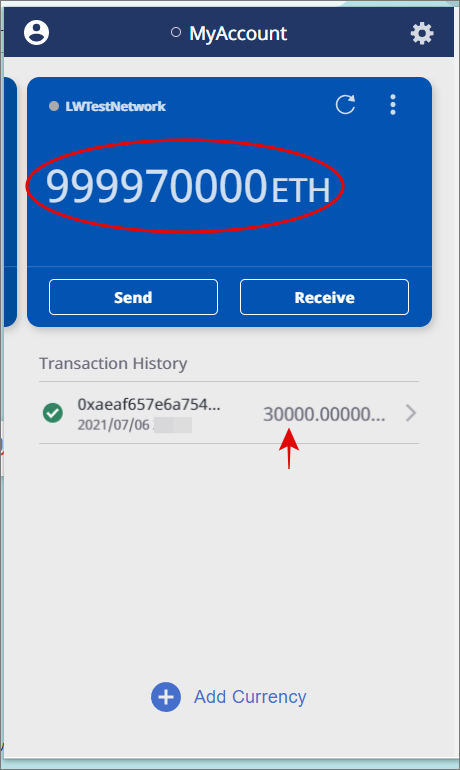
Check that the balance of the sender is decreasing
Verify that the balance on the Ether Card in MyAccount has been reduced and that it was sent correctly.
Check if the ETH has arrived at the receiver correctly
Specify the recipient's account
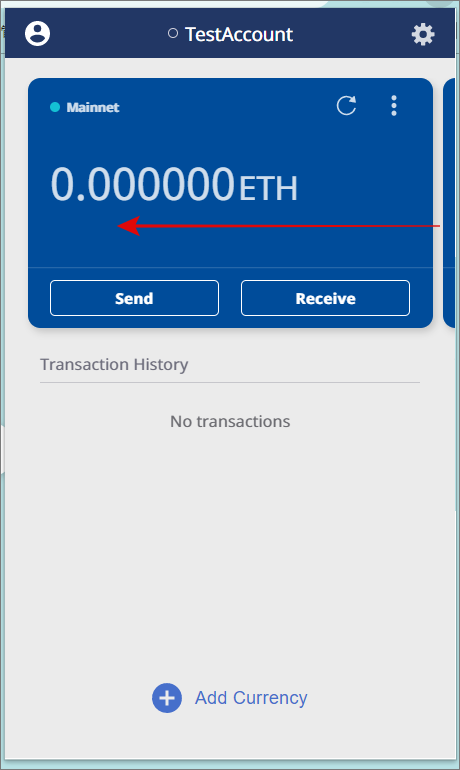
Open your TestAccount Wallet and confirm that you have received the Ether that was sent to you.
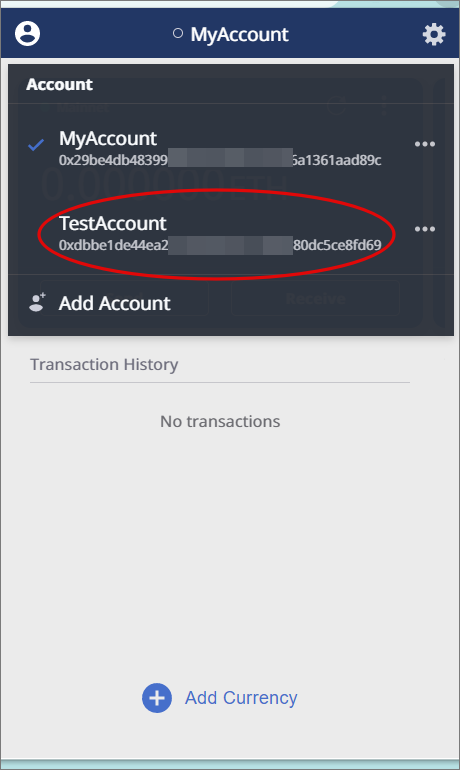
Press the "Account Icon" in the upper left corner of the Wallet.

Select the receiving TestAccount from the list of accounts. Make sure that the account name in the center of the Wallet is the receiving TestAccount.
Once confirmed, select the Ether Card for the receiving account.
If you cannot see the card, scroll to the side.
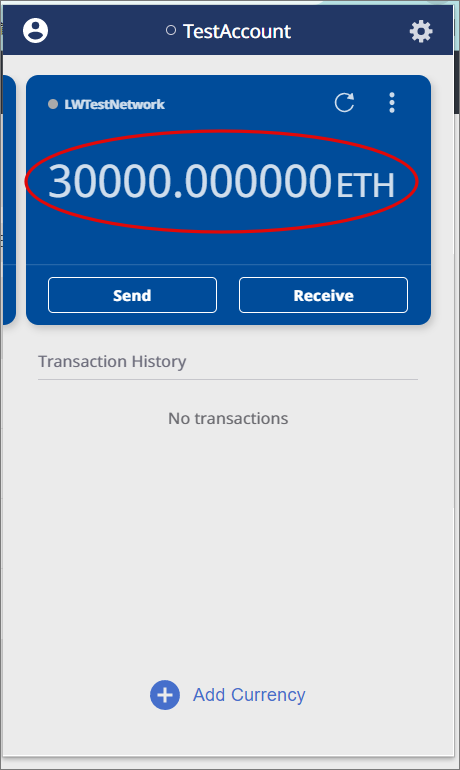
Make sure that the balance of the receiver is increasing
Make sure that the Ether balance of the receiving TestAccount has increased.
Check the Block Explorer
Once the Ether has been sent, go to the G.U. Blockchain Cloud network page and check it in the Block Explorer as well. click "Block Explorer" on the G.U. Blockchain Cloud network screen.
-819836c0802bc2a3191029fe92c4768a.png)
Make sure that each block is displayed in "Blocks" in the following screen.
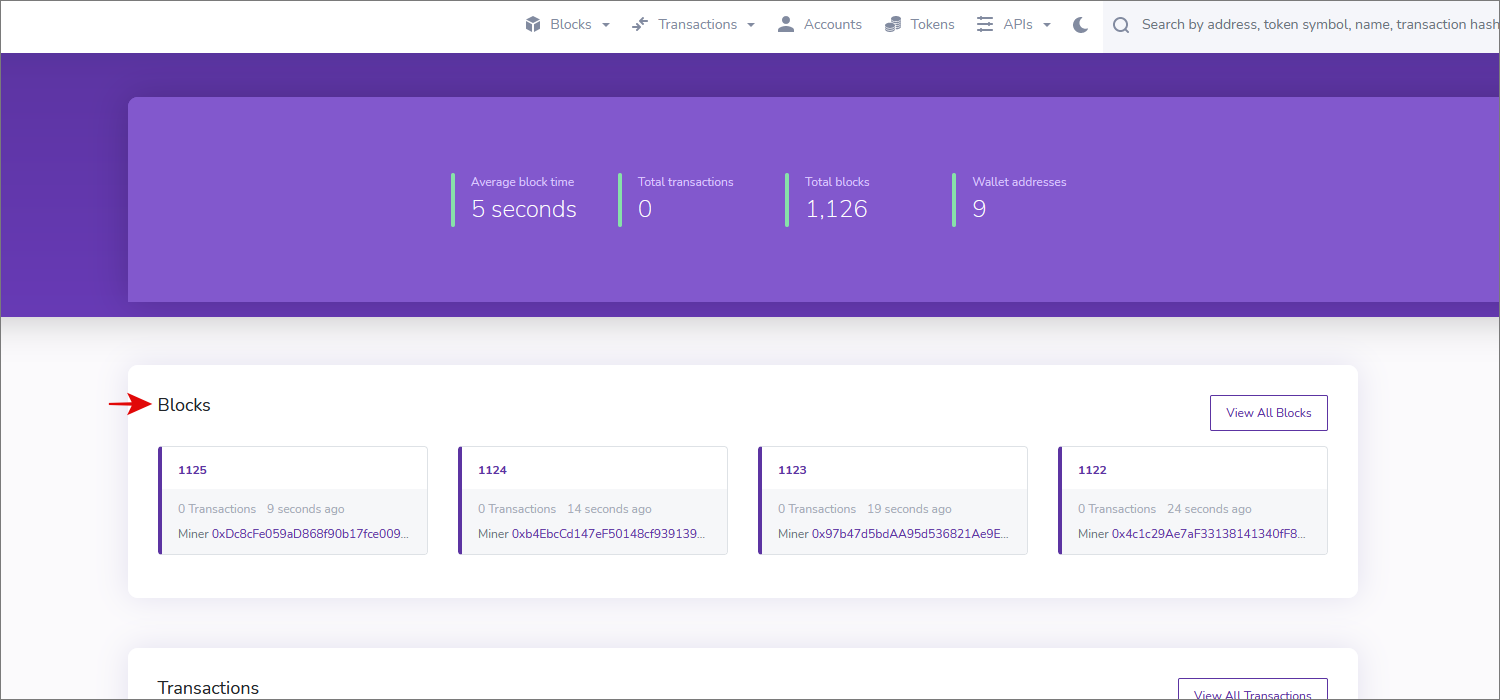
Next, check [Transactions], and if [Transaction Success] is displayed in blue letters, the transmission was successful. ①The amount of Ether sent, ②the source address, and ③the recipient address will be displayed, so please check them.
-5a13e594f6086773d532be18cf8cdd98.png)